How to Change the Name of Your Company

In this article, we explain how to change the name of your company in the Estonian online registry.
Table of contents
Requisites to Change the Name of Your Company
Before you head up to the registry, there’s at least one document you need to prepare: a resolution of the members of the board accepting to change the name of the company. But worry not! We have a template ready for that. Ask us for that template, fill in the blanks with the required data, and send it back to us for review. Once we send a PDF back to you, you need to sign it with the DigiDoc4 software. The document is called juhatusekoosolekuprotokoll.
How do I sign this document with DigiDoc?
Simple. Open the DigiDoc4 software, then drag and drop this PDF inside. Next, connect the e-Residency ID card with the USB reader. Wait until the message “Sign with ID card” appears in a blue button at the bottom right. Click on that button. It will ask for your PIN2 and generate a .asice document. This is the document that you will need to upload later.
Also, if you haven’t already, you need to configure the USB reader to work with your e-Residency card. Here we explain how to do it.
Accessing the Company Registration Portal and Starting the Petition
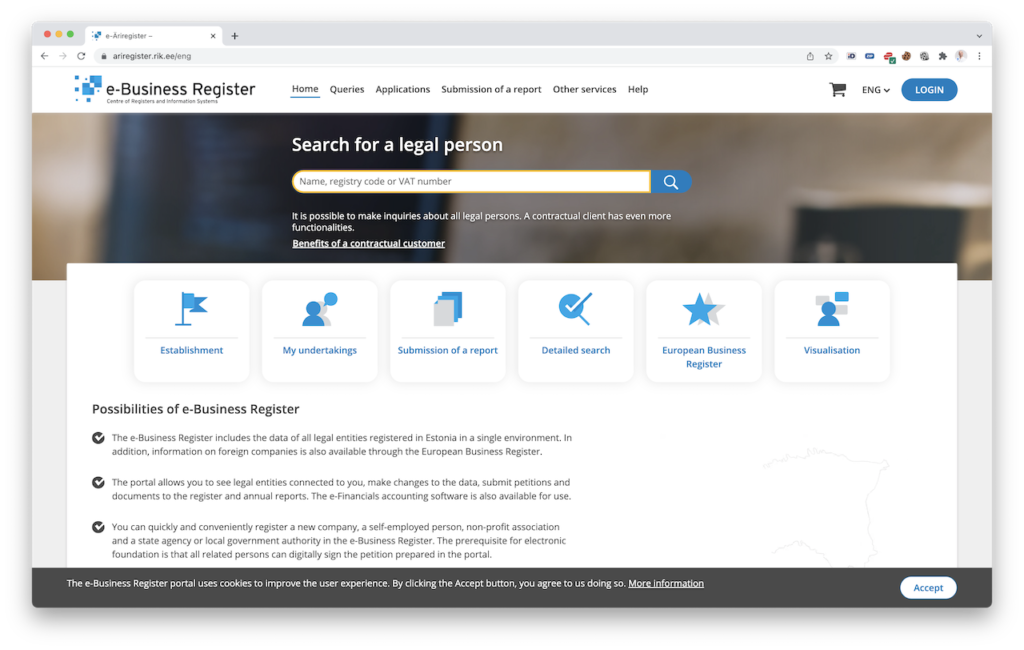
First, you need to log into the company registration portal. If you find some problems logging in, close the browser (exit all windows), reopen it, and try again.
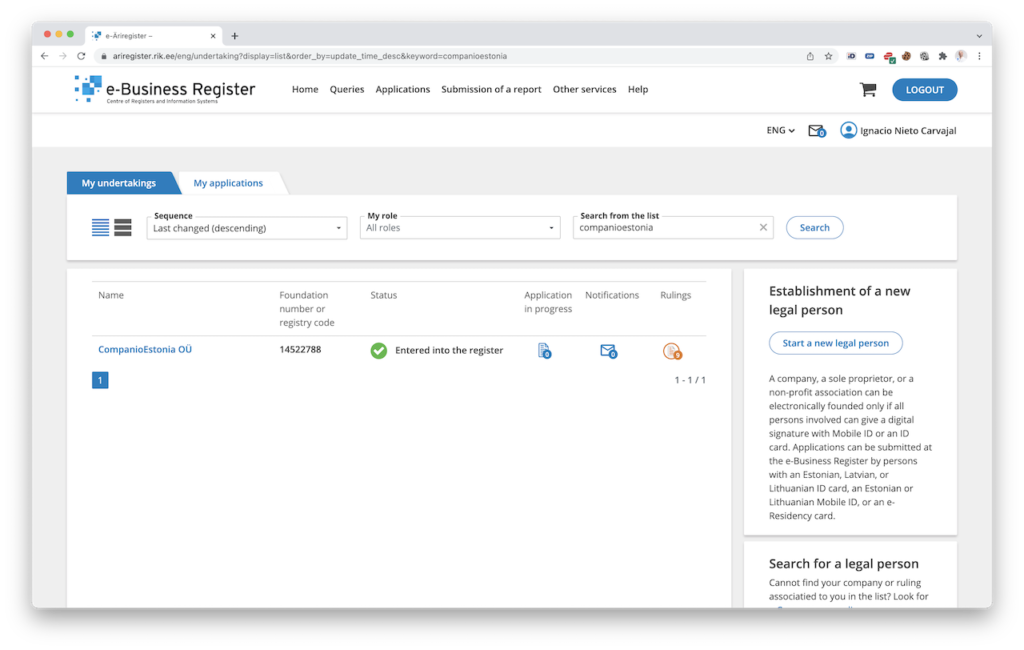
Once inside, go to Applications > Dashboard > My Undertakings. You will see a list of your companies. Most probably, there will only be one. Click on the name of your company.
Modifying the Name
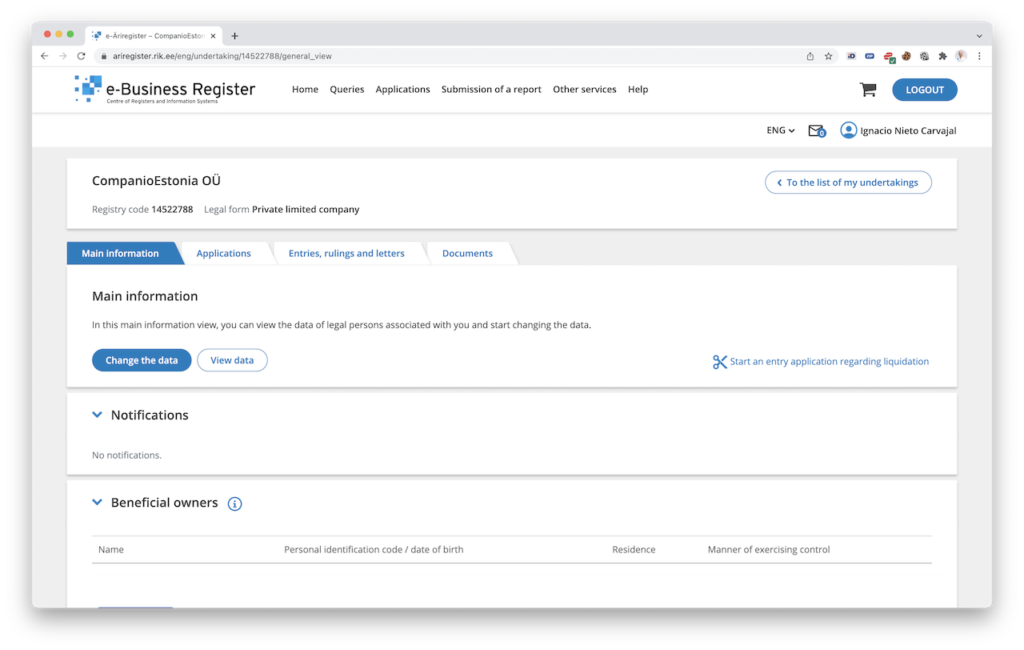
A new screen will appear with the information about your company. Click on the blue “Change the data” button and confirm that you want to change the data of your company.
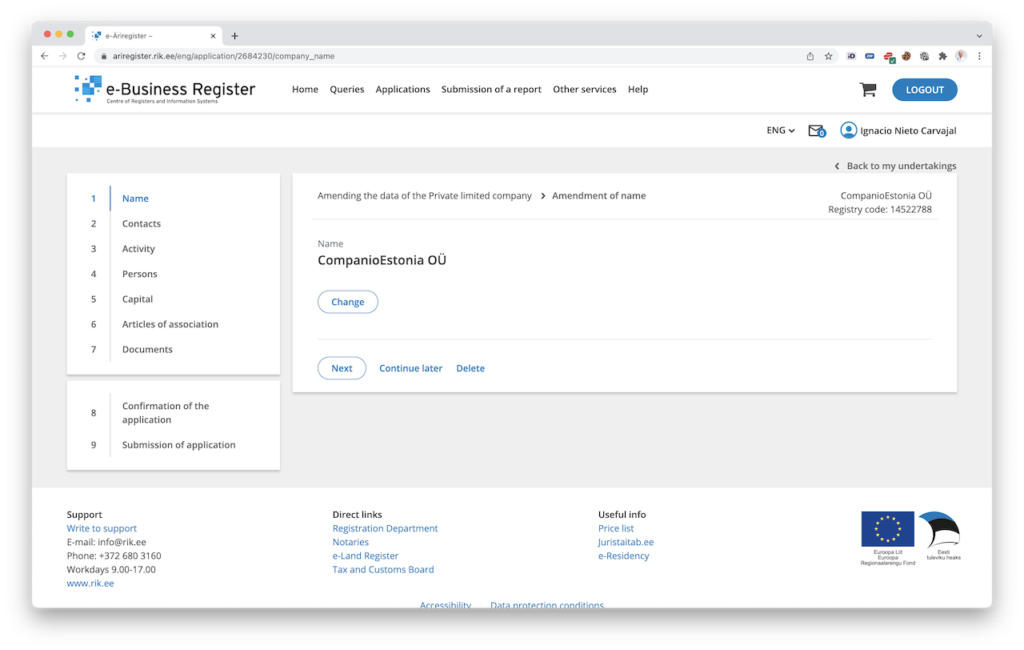
You will get to a screen with a series of steps. We only need to visit some of them. The first one is, aptly, the name of the company, point number one. Click on “Change”.
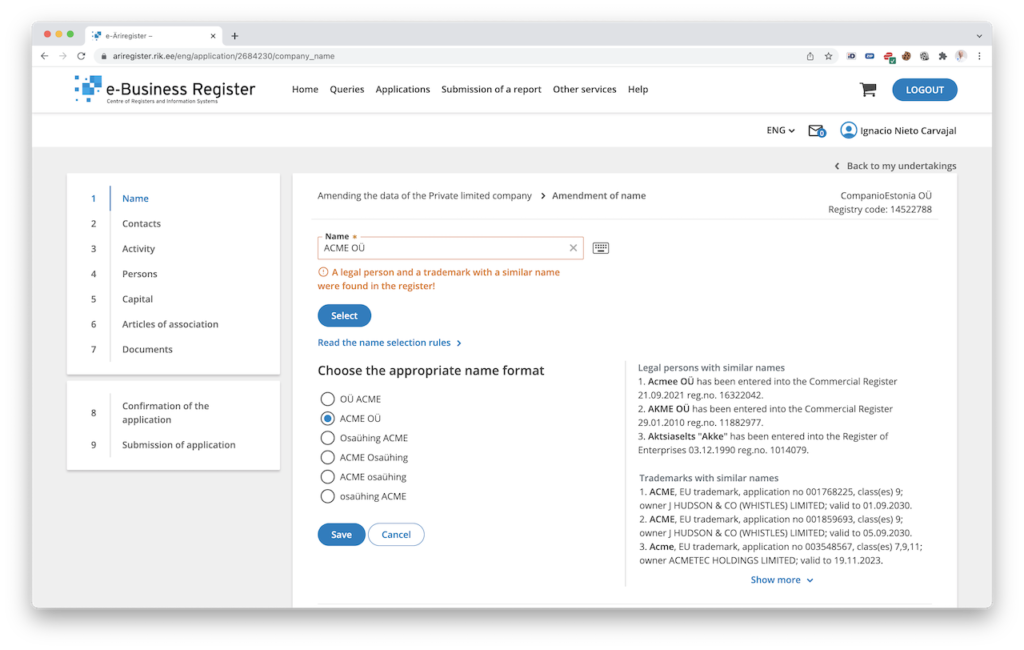
Now enter a new name and click on “Select”. If you receive a warning like “A legal person and/or a trademark with a similar name were found in the register!”, our recommendation is to use another name until no conflict with other trademarks or company names appears.
This is an example using a name that does not exist already: “ThisNameDoesNotExistAlready”.
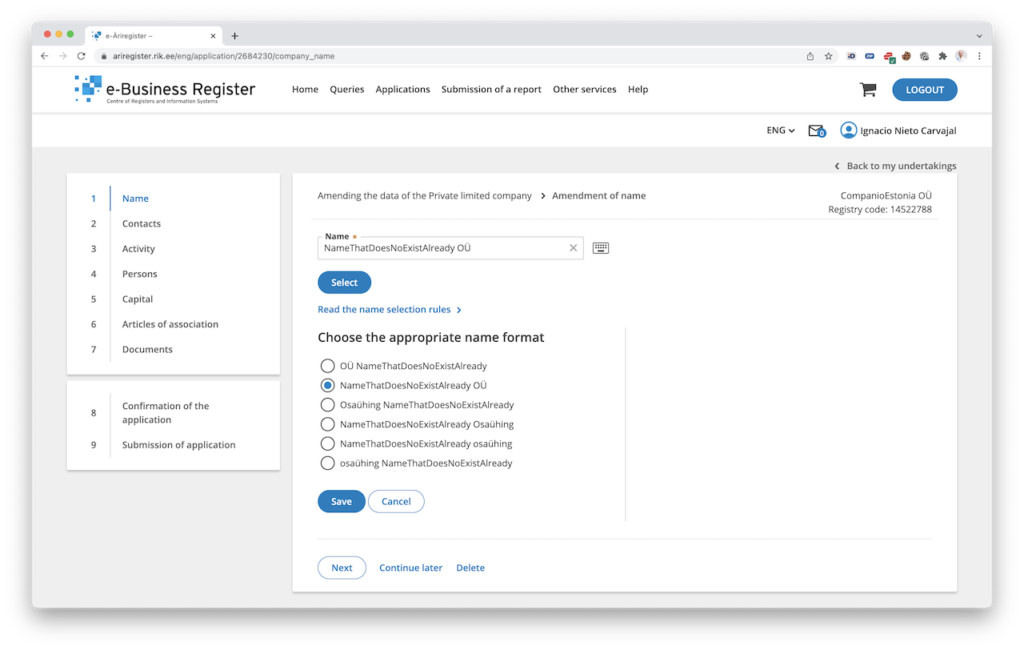
Click on “Save”. The name will appear as changed.
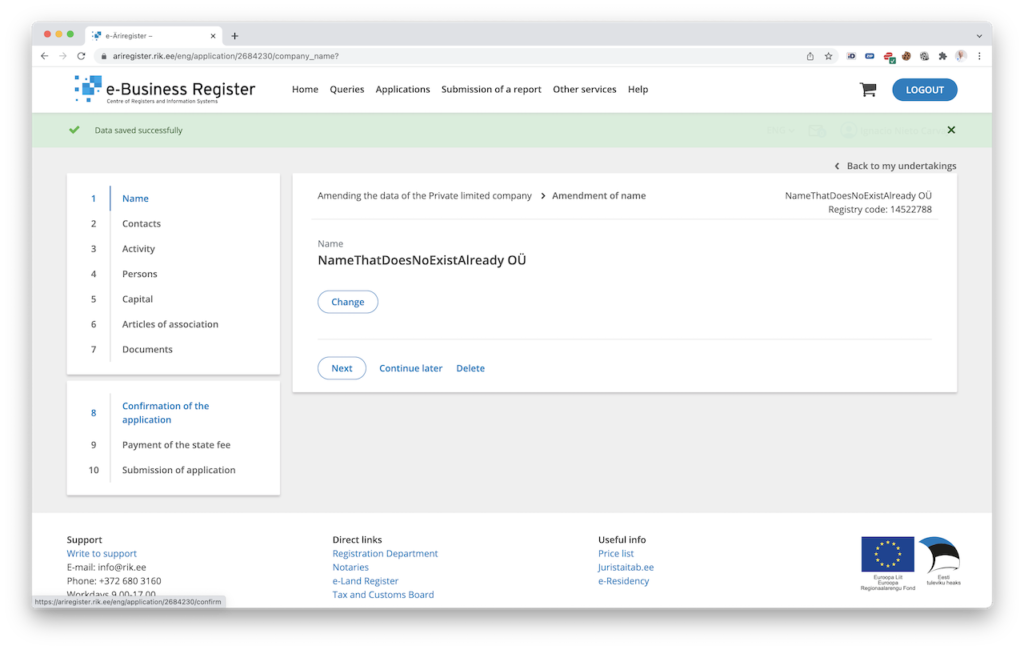
Now ignore points 2, 3, 4, 5, and click on point 6, “Articles of Association”.
Modifying the Articles of Association
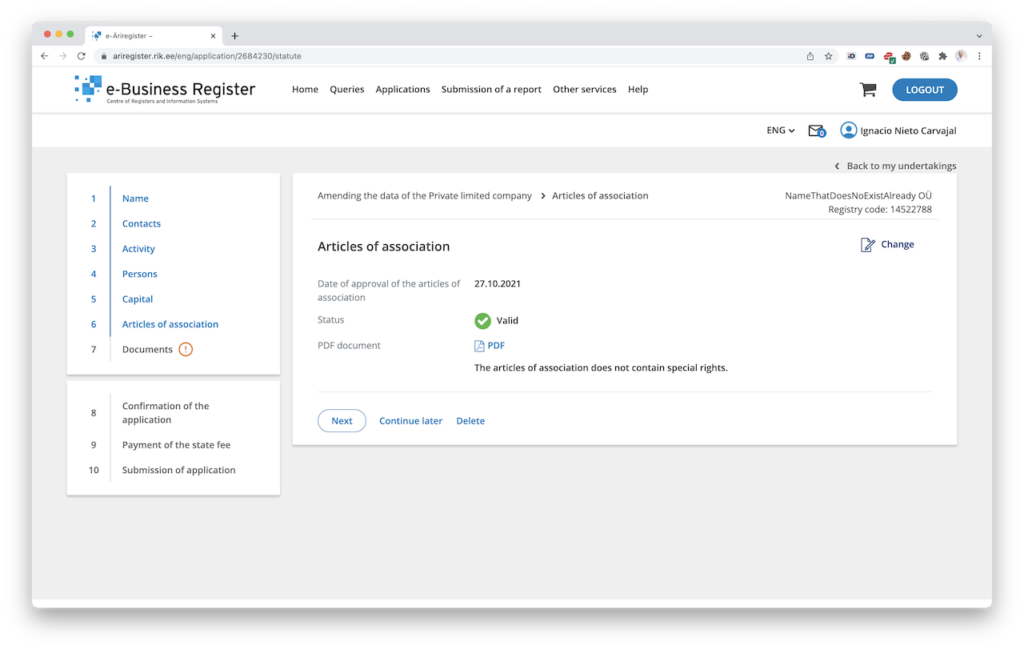
Now click on the “Change” icon on the top right. The name of the company will already be changed automatically at the beginning, in one of the first points of the Articles of Association. If not, click on “Change” and change it to the name you just selected.
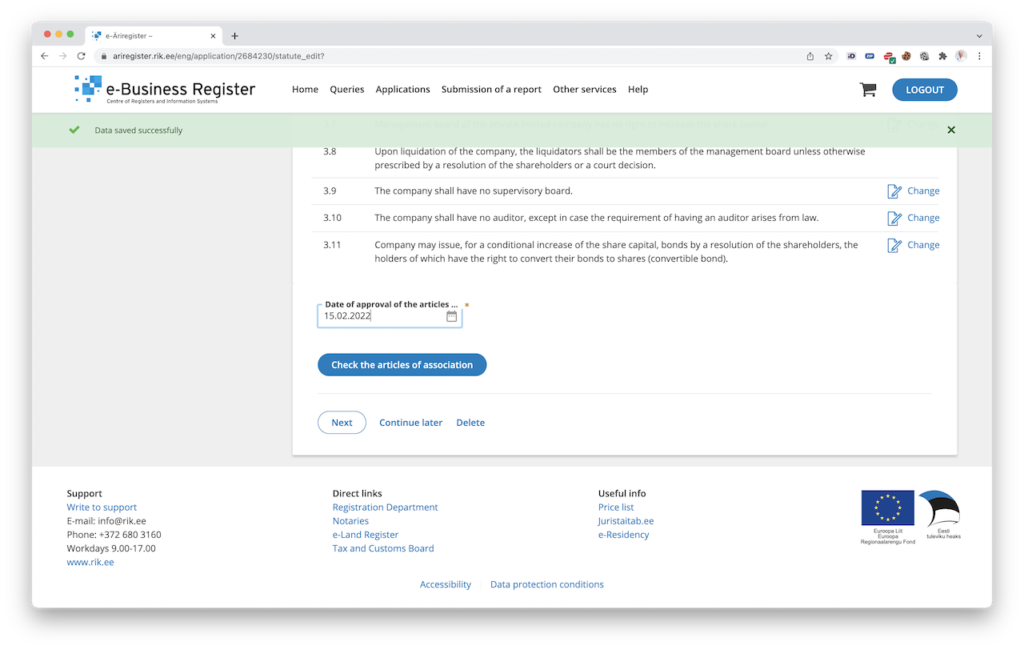
Scroll down to the “Date of approval of the articles” and choose the current date (it will show in DD.MM.YYYY format). Click on the “Check the articles of association”. It should display a message saying “No errors were identified in the articles of association”.
Now click on section 7, “Documents”.
Uploading the Resolution of the Board
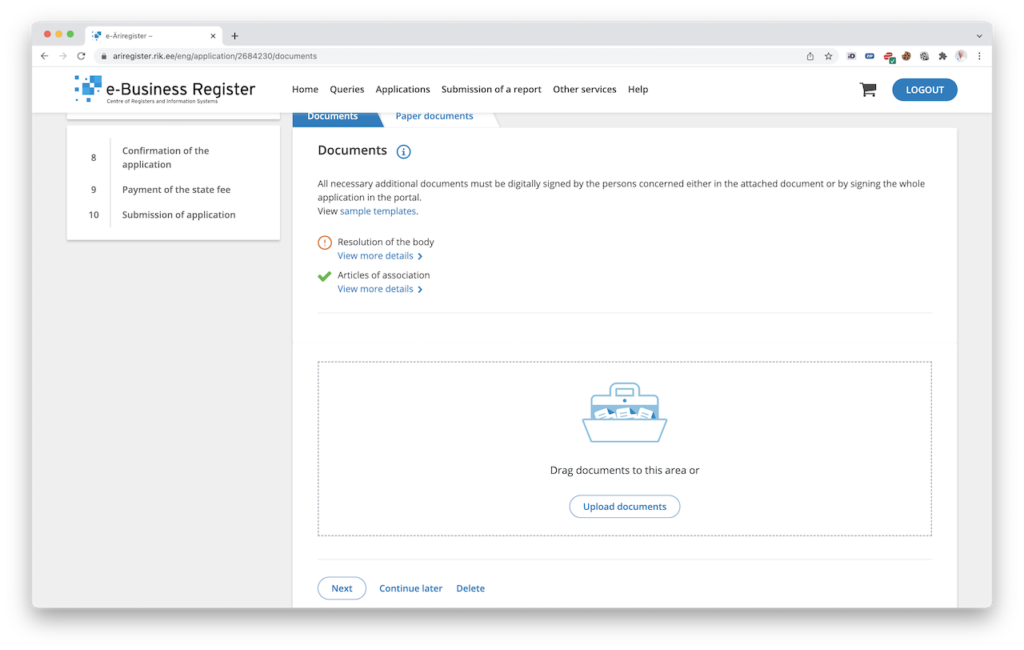
You will see a message asking you to upload the resolution of the body. This is the juhatusekoosolekuprotokoll document you signed before. It is important that you upload the .asice document (signed by DigiDoc) and not a PDF document. It needs to be digitally signed to be approved.
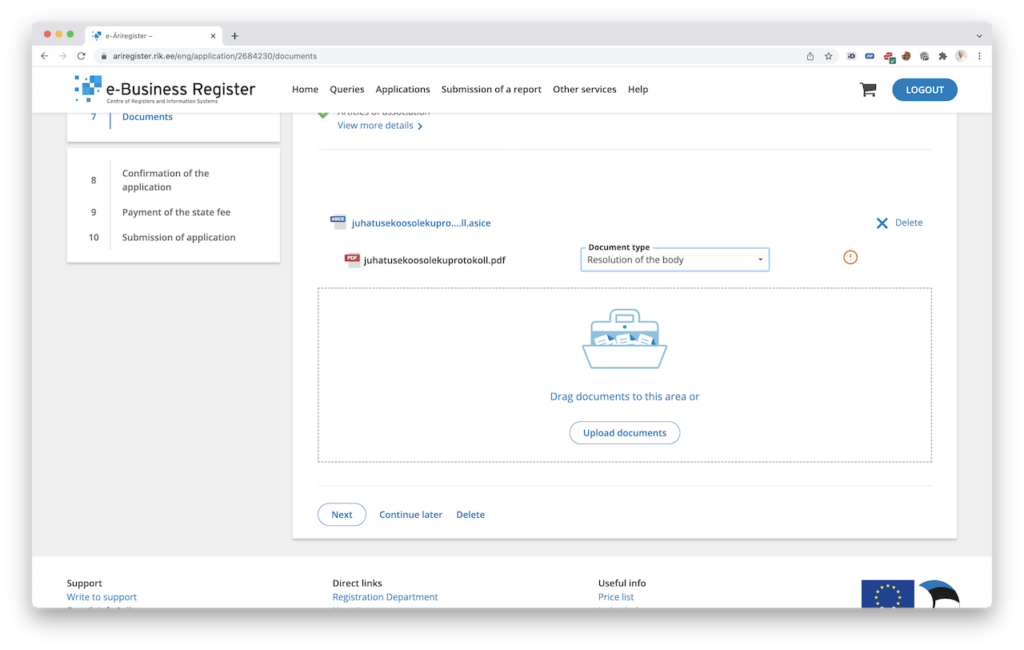
After uploading it, choose “Resolution of the body” in the “Document type field” and click on “Next”.
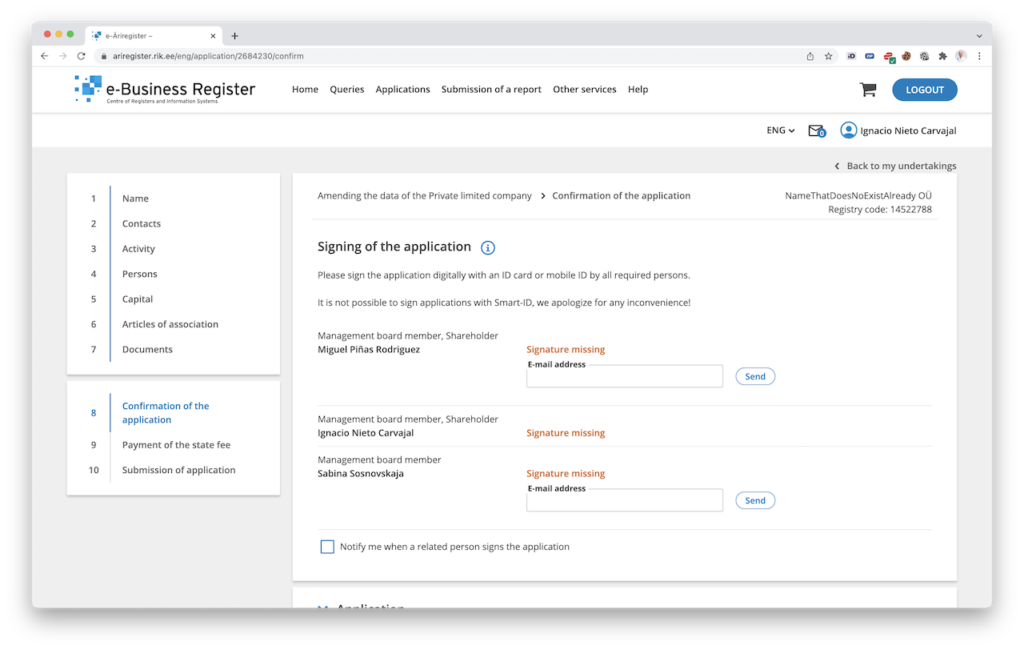
Signing the Petition
Next, all members of the company need to sign the petition. Go to Section 8, “Confirmation of the application”. You will see the list of members who need to sign. You can easily send them invitations to sign the request via email. To sign yourself, scroll down and click on the “Sign” button. Make sure you have inserted the ID card correctly and get your PIN2 ready to sign.
When all the members have signed, progress to step 9, “Payment of the state fee”.
Paying the State Fee
If you have LHV or other Estonian banks (such as SEB or Swedbank), you can pay the request directly online. Otherwise, you just need to do a bank transfer with the data indicated in that section. Head up to your bank, pay, and then continue to the next stage, “Submission of the application”. There is an option to submit the application directly after the payment, which is quite convenient.
Submission of the Application
The submission of the application is the last step. Just click on the submit button and make sure you see a success indication informing you that the request has been submitted. It will now take a couple of working days for the change to be effective. As soon as the name is changed, you will receive an email from the e-Business Registry with the new entry of your company.
As always, if you find trouble changing the name of your company, open a ticket and our customer support team will be happy to help.

Ignacio Nieto is the CEO and co-founder of Companio. He’s also a freelance developer, composer, and writer. You won’t find him on Social Media. Still, you may see his name in articles about entrepreneurship and the digital nomad lifestyle.